New MF-SP Euro Profile Motorised Smart Cylinder Lock - Manual and data specs
You can find the manual and data specs of the Motorised Cylinder (MF-SP) below:
Original HubSpot URL: https://learn.simpled.uk/new-mf-sp-euro-profile-motorised-smart-cylinder-lock-manual-and-data-specs

Special Attention:
1: Please keep mechanical keys outdoors to avoid locking them indoors.
2: Recharge the batteries when you see the low battery alarm.
3: Read this manual carefully before installation and keep it for
future reference.
What’s Included?
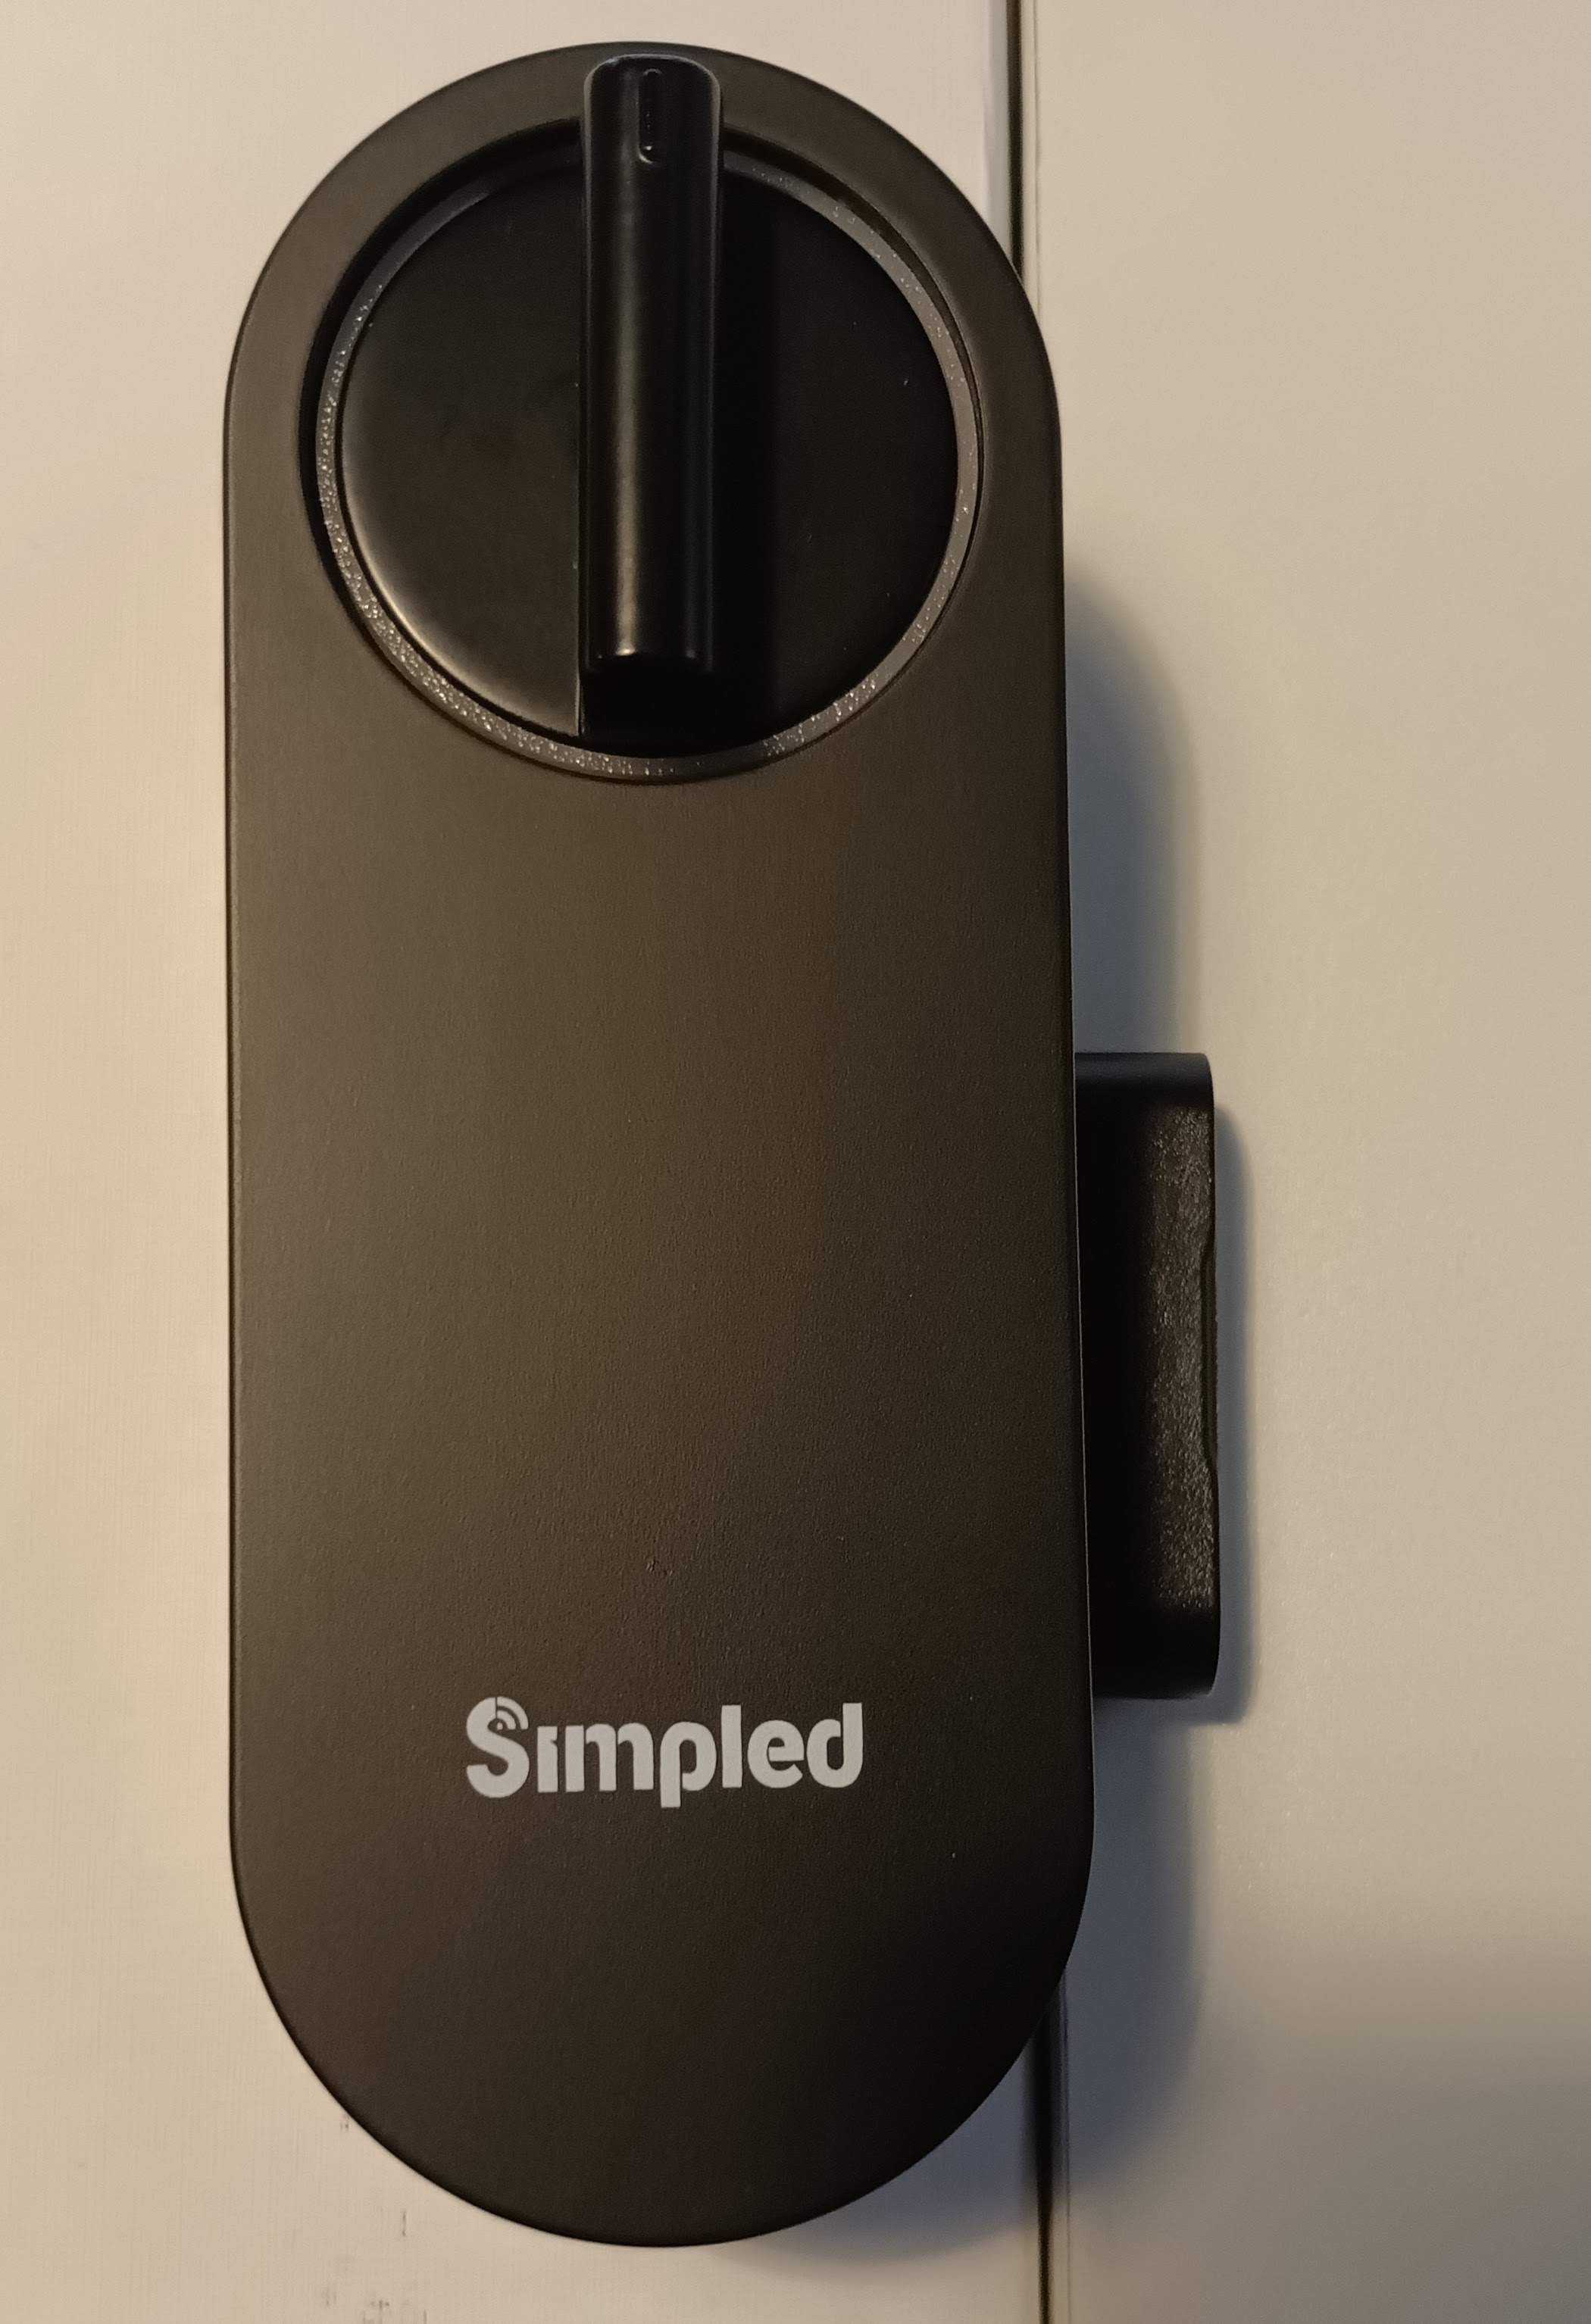
Motorised Cylinder
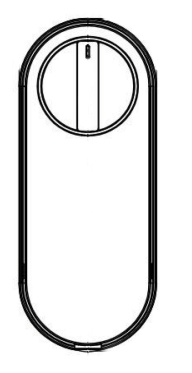
MF
Rubber Gasket

rubber-gasket
Door Sensor
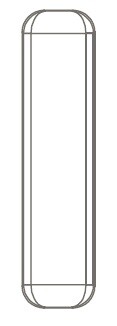
door sensor
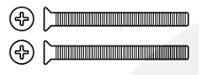
Physical keys

1 x Cylinder adapter 50mm
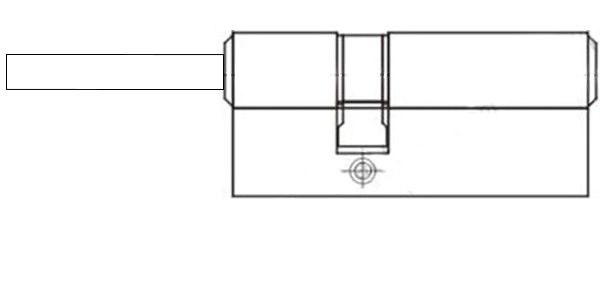
Euro-Cylinder
1 x Cylinder Spacer 20mm
Adapter
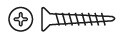
1 x km5*65mm
Screw-1
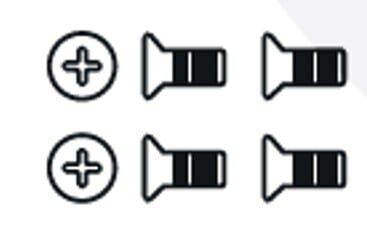
1 x KA4*20mm
scew
2 x KM3*30mm Screw
KM3
4 x M5*10mm Screw
M%
5 x M4*20mm Screw
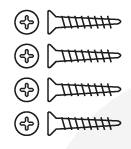
image-png-Jan-09-2025-10-31-31-6907-AM
Specifications:
Materials | Aluminum Alloy |
Weight | 1.5 kg |
Default Unlocking methods | Smartphone Access Apple Watche Key (to be shared remotely) Mechanical key |
Unlocking Methods (Available Only with Wireless Keypad) | Fingerprint Passcode (OTP/Timed/Permanent) Proxy Fobs Phone sticker Contactless Card |
Unlocking Methods (Available Only with WiFi Bridge) | Alexa Google Home Full Remote Management |
Colour | Black |
Doors Applicable | Any types of door with a Euro Cylinder |
Compatible Battery | 2x18650 Button Top Lithium Batteries |
Door Thickness | 35-55 mm |
Working Temperature | -10 to 55°C |
Working Humidity | 0-95% |
Low battery alarm | Less than 7.2 v |
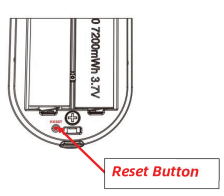
Factory reset:
Long press the reset button on the back of the front panel for about
3 seconds. The reset is successful when the indicator light changes from dark blue to light blue.
Installation:
Step 1: Installing on an old door - Removing the Existing Euro Cylinder
If your door already has a Euro cylinder, remove it by unscrewing the side fixing screw. To assist with removing the cylinder, you might find it useful to insert a key and turn it slightly, while pushing/pulling the cylinder. This will provide a better grip, making it easier to remove the old cylinder out.
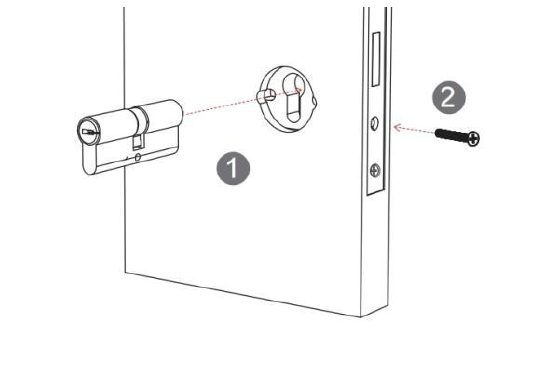
If your door has a pre-installed mortice for a Euro cylinder, skip the step above and proceed with inserting the provided cylinder into the slot. You may need to trim the cylinder tail to match your door’s thickness.
Warning:
Before trimming the cylinder tail, ensure you leave 25-35mm of the tail protruding beyond the door level to ensure a proper fit in the motor/thumb turn slot. Remember, your door’s thickness will add to this measurement. Cutting it too short may disengage the thumb turn, preventing manual operation.
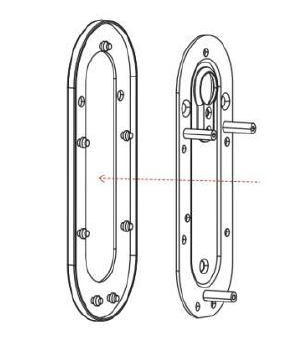
Step 2: Attaching the Rubber Gasket
Place the rubber gasket over the plate to ensure a secure fit and prevent slipping. This also helps protect the door surface and improves stability.
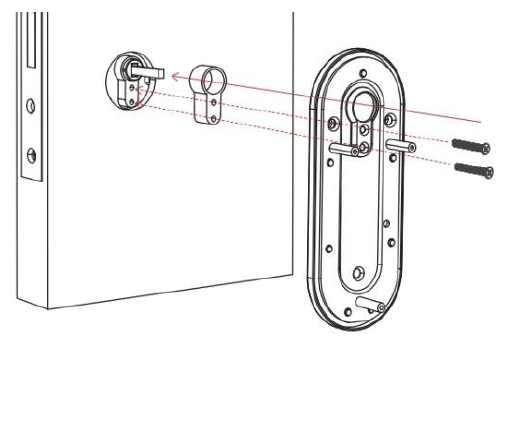
Step 3: Securing the Plate
Place the cylinder spacer over the cylinder, then align the plate and secure it using the two screws. Ensure it is firmly attached for a stable fit.
Step 4: Mounting the Back Panel
Place the motor panel onto the plate, ensuring proper alignment, and secure it with the three screws. Tighten firmly for a stable installation.
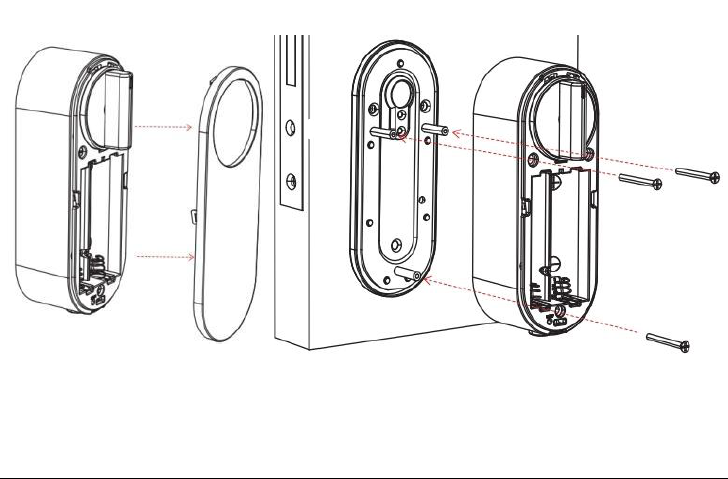
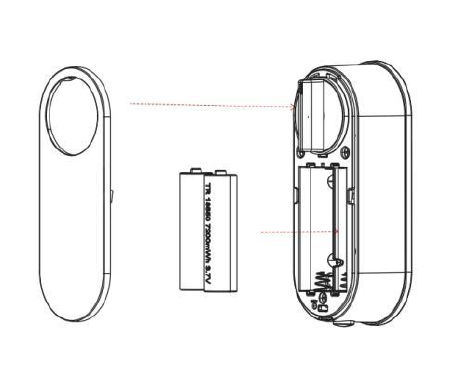
Step 5: Inserting the Batteries
Ensure the batteries are fully charged before inserting them. Once in place, attach the battery cover to complete the installation.
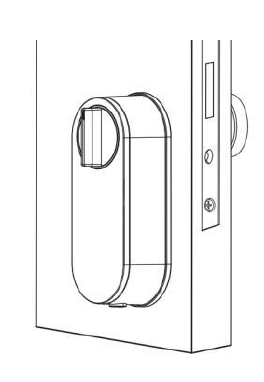
Step 6: Testing mortice operation
Test the manual knob turner to ensure smooth rotation. Then, press the button underneath the lock to check if it locks and unlocks the door smoothly.
Step 6: Adding the door sensors
Adding the door sensors enables the the lock to synchronise so that it waits to Auto-Lock (relock) until the door is closed again.
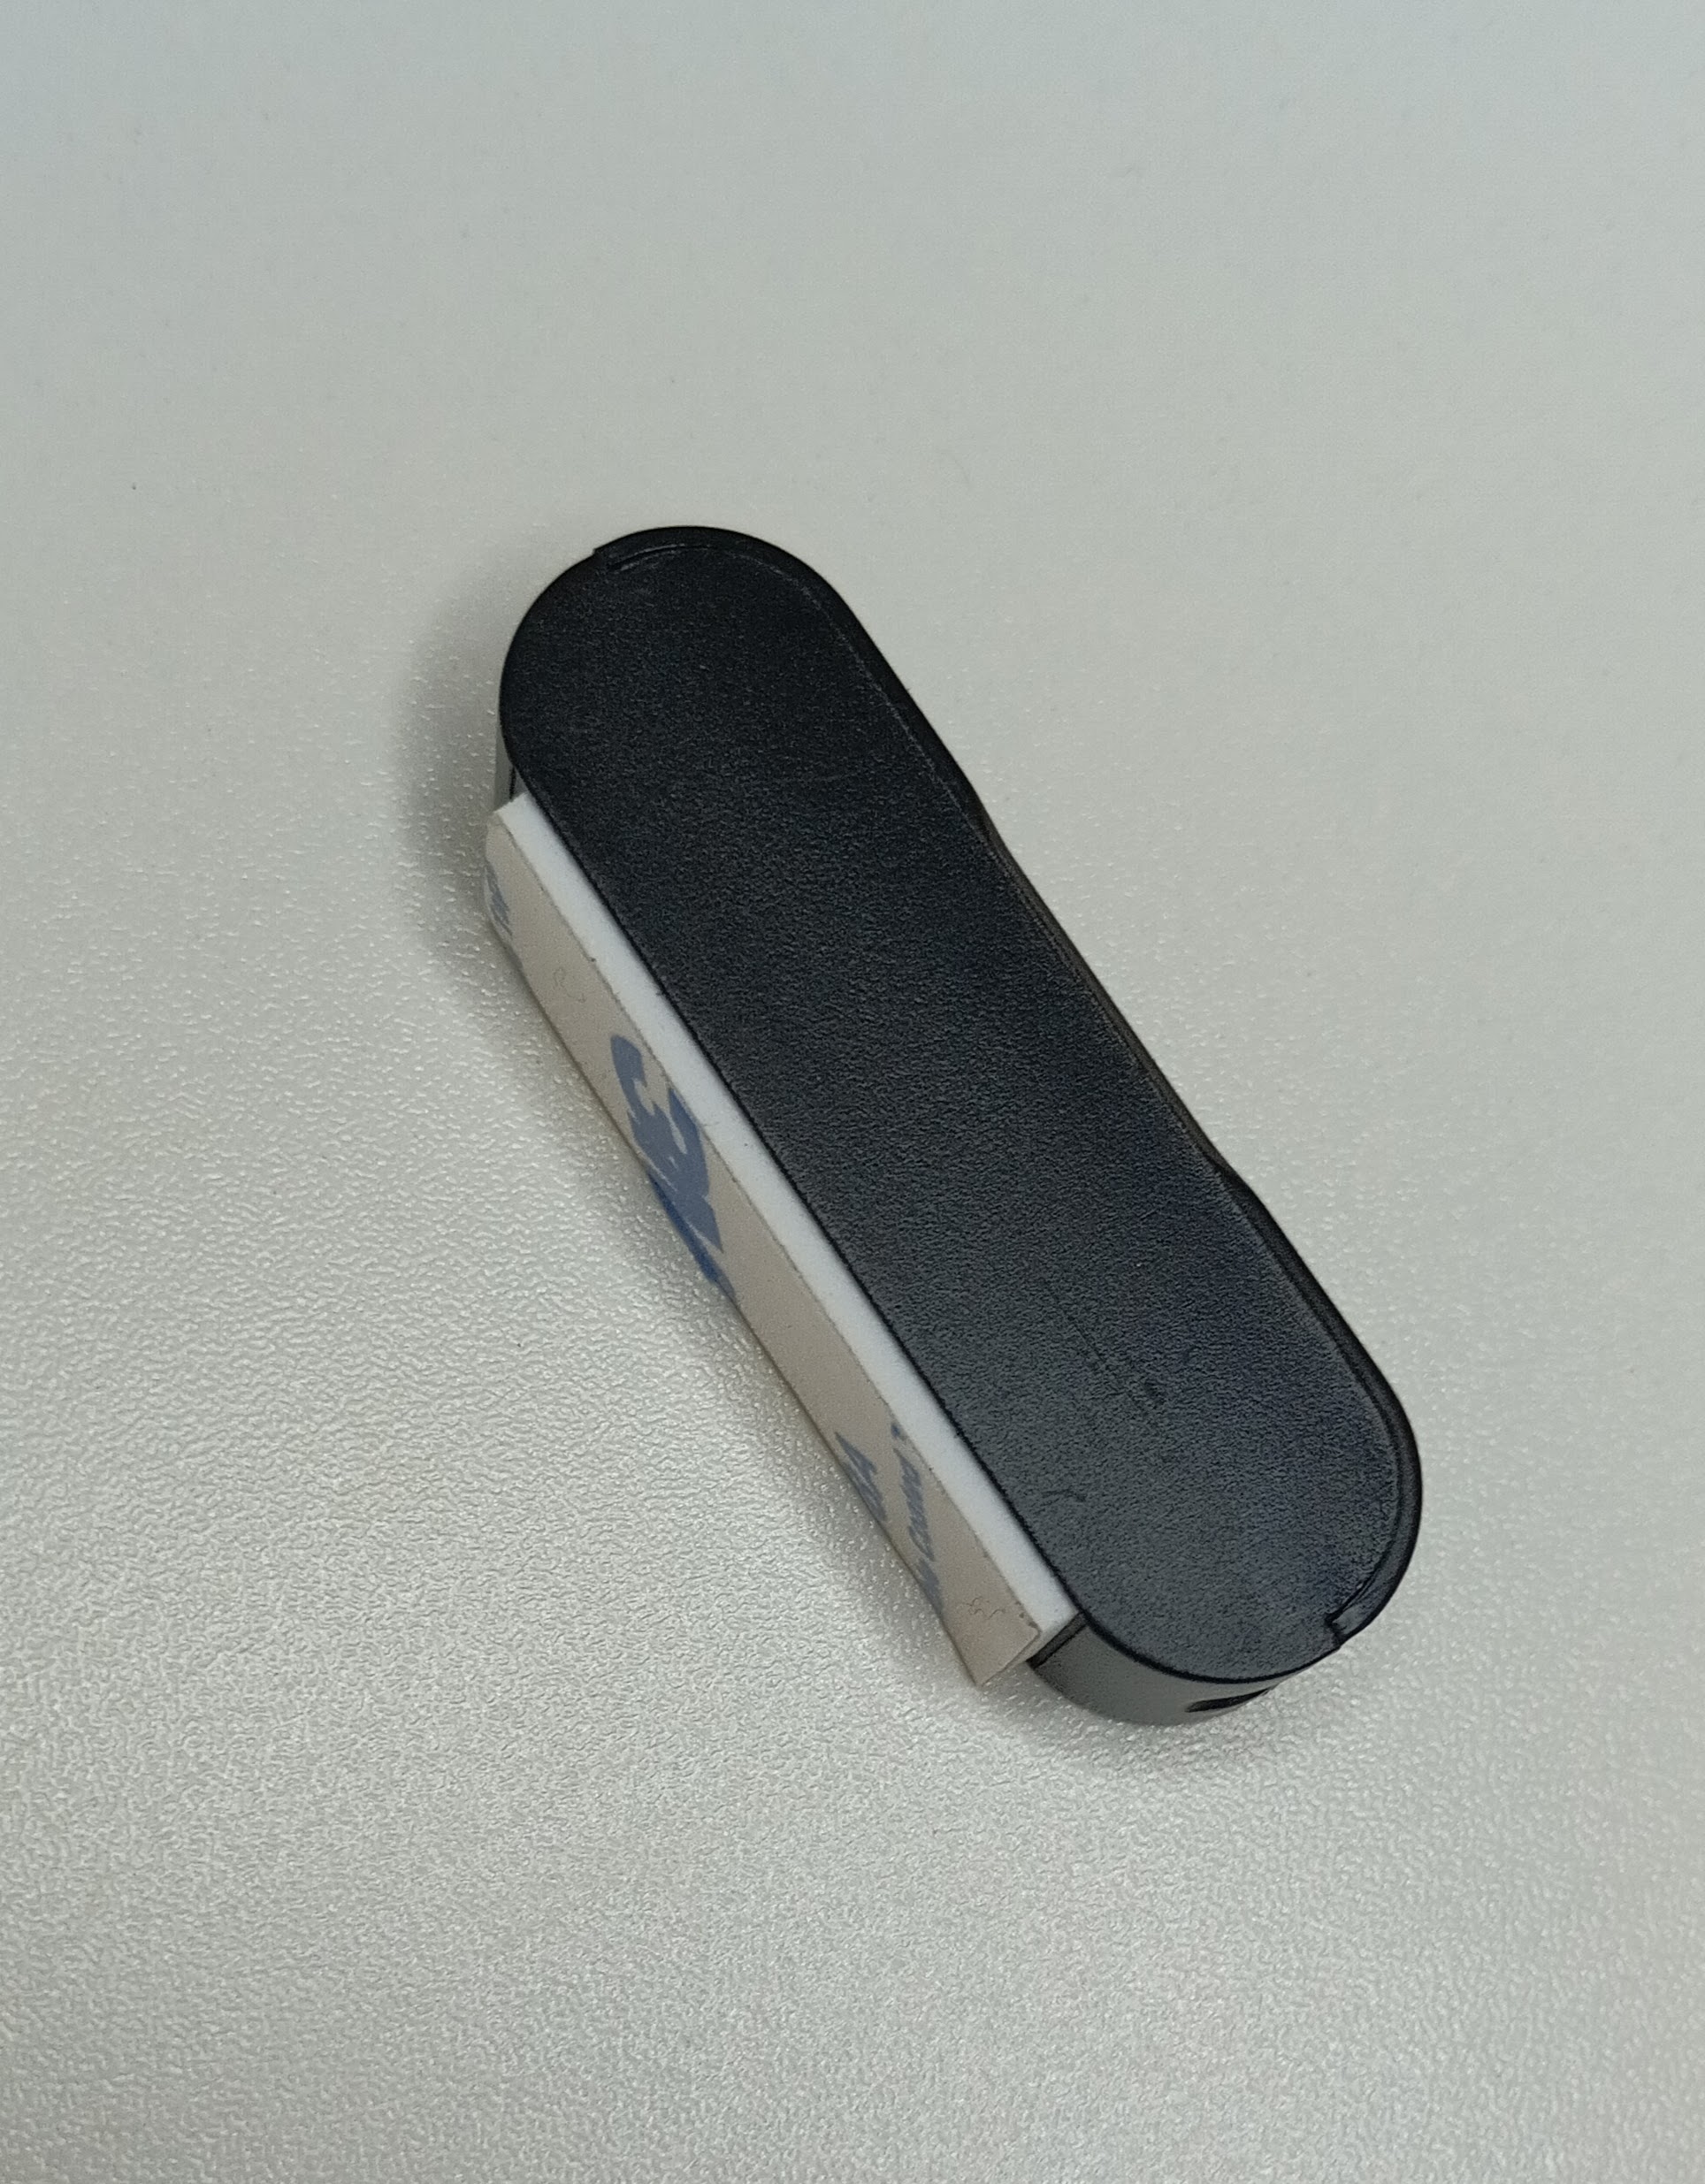
MF-Sensor on its own
Sensor positioning
On the edge of the inside of the door frame
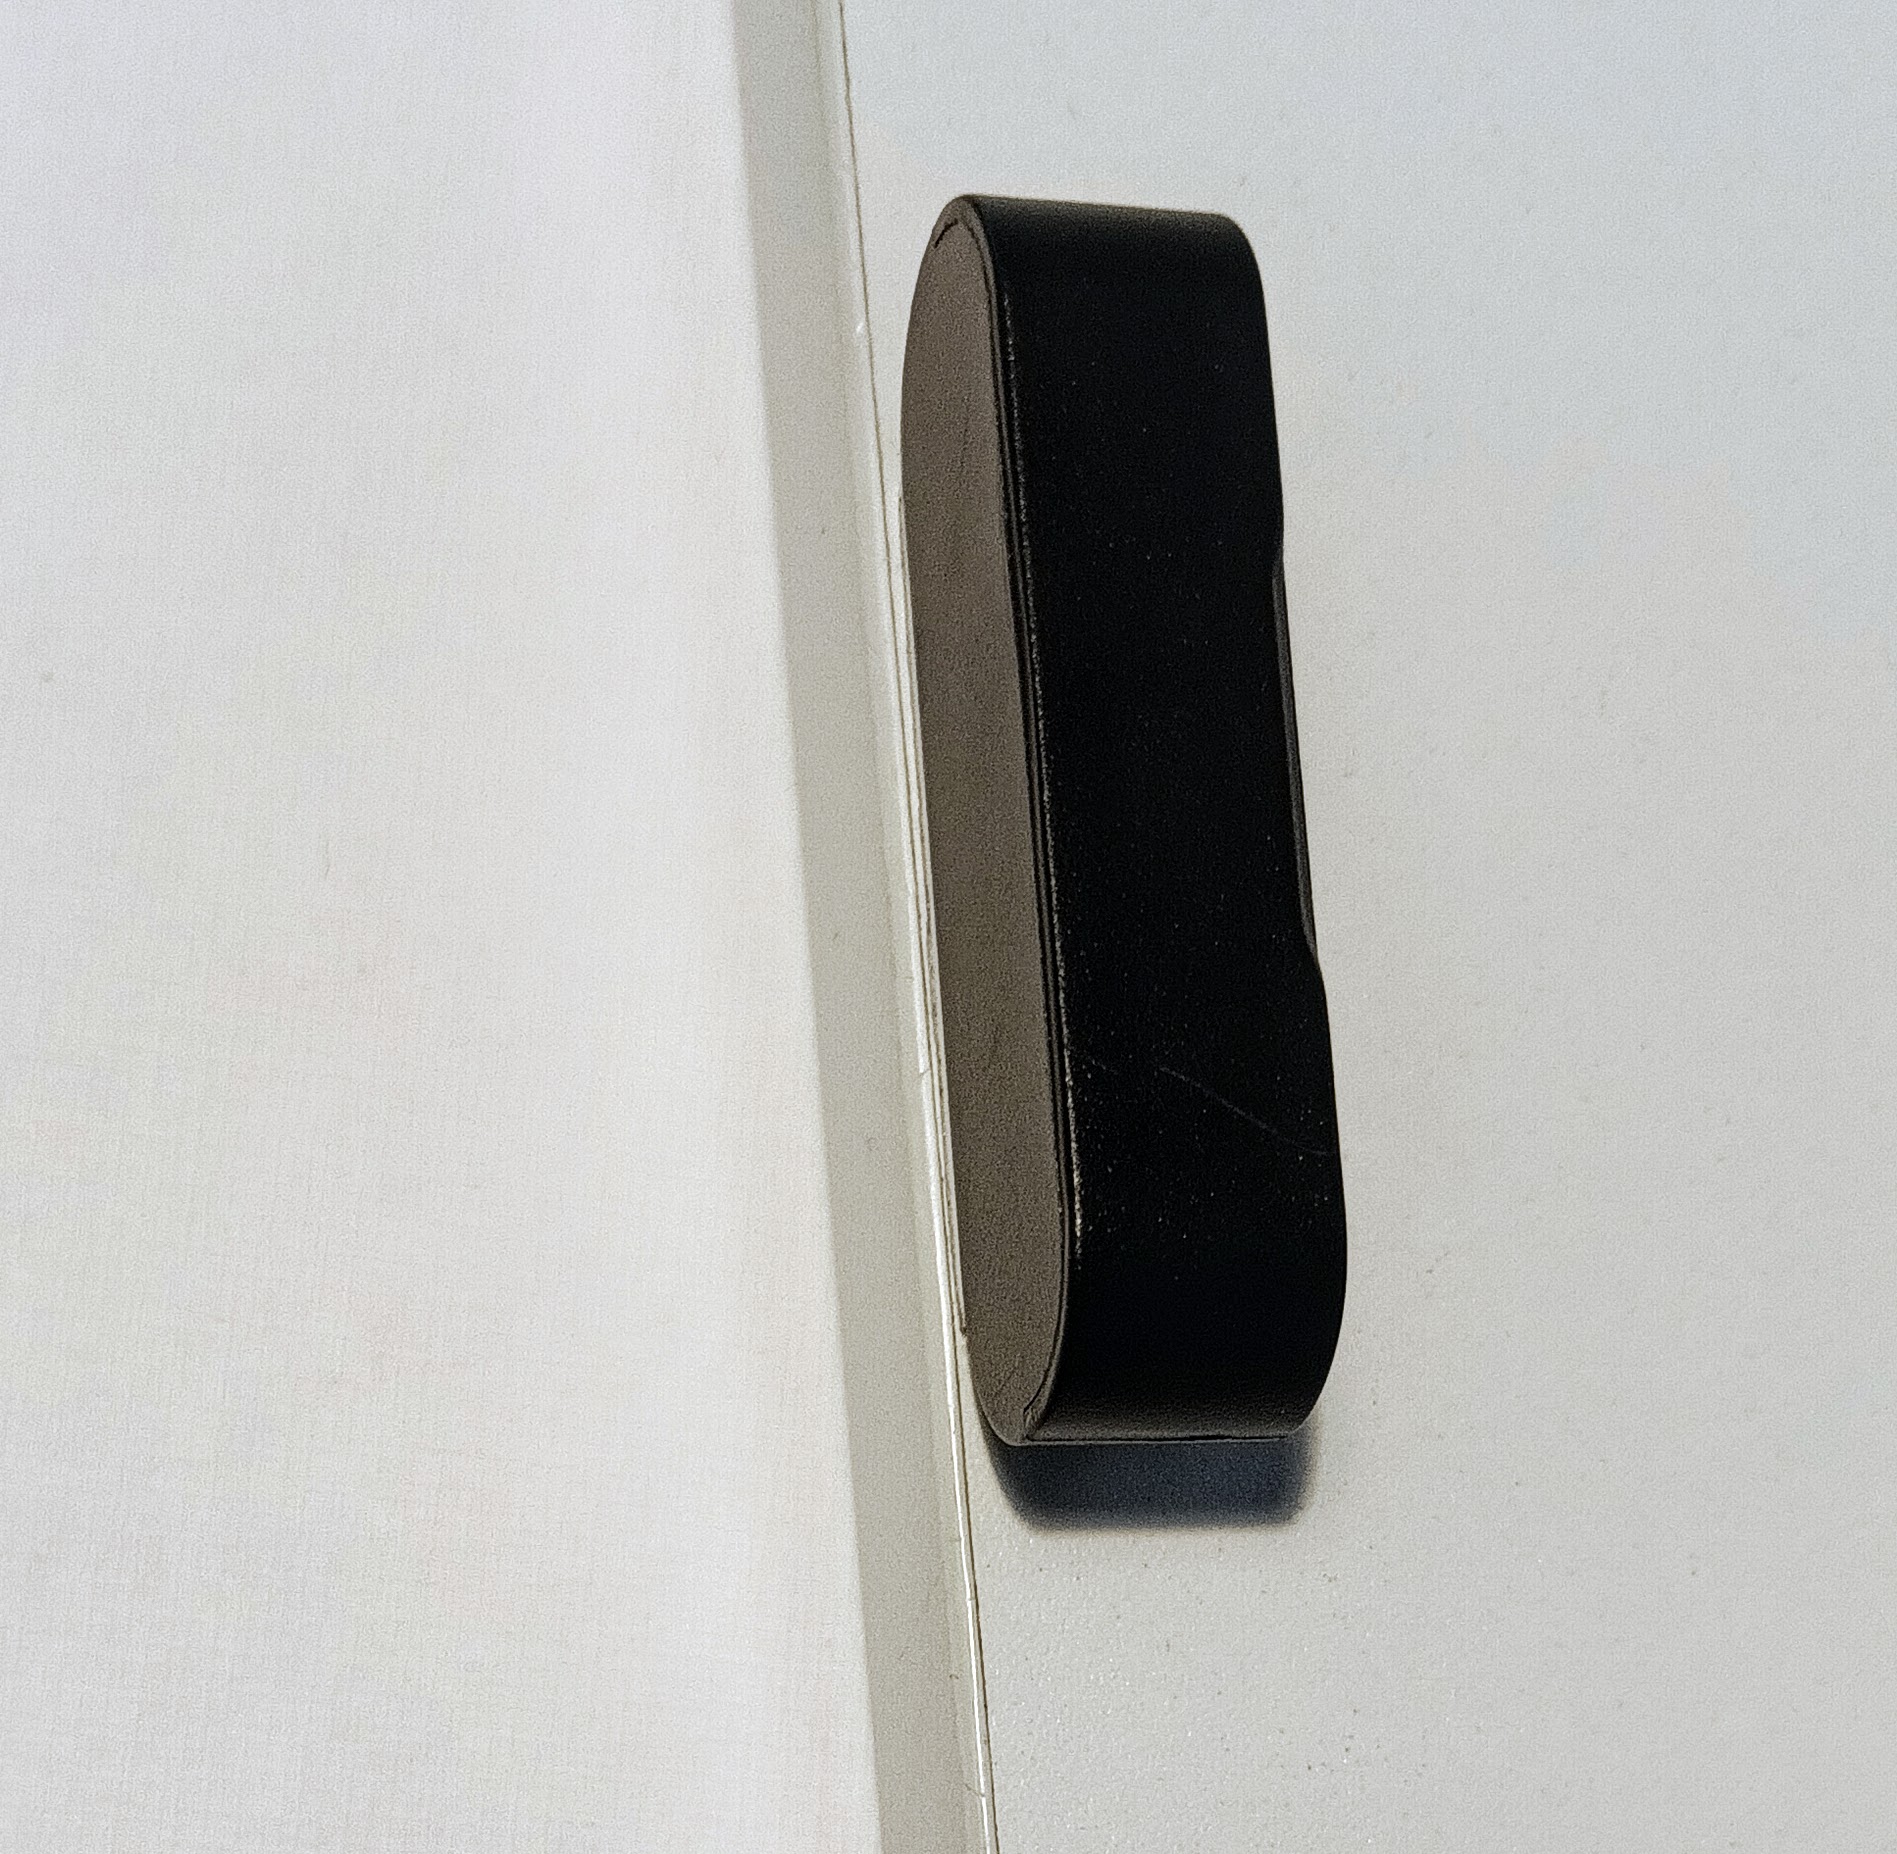
MF-Sensor Position 1
Aligned so the bottom of the sensor is in line with the top of the Simpled logo on the lock
MF-Sensor Position 2
Just peel off the film from the adhesive pad and firmly stick to the edge of the inside of the door frame. When the door shut this will now trigger re-locking.
This sensor is preprogrammed into the lock and does not need to be added as a separated door sensor option in the app.
Congratulations! Your Simpled MF Lock is now installed and ready to use. You can now proceed with pairing it with your phone.
To install the app, please use the link provided below:
https://kb2.simpled.uk/doc/simpled-app-manual-ZpkL0mkcrY
Useful Information:
Introducing the Simpled Motorised Cylinder