QA-SP Manual and data specs
You can find the manual and data specs of the QA-SP lock below:
Original HubSpot URL: https://learn.simpled.uk/qa-sp-manual-and-data-specs
Product parameters:
Size: 132X43X25mm
Bluetooth: BLE 5.0
Power supply: 4 AAA batteries
Standby current: <30 μ A
Working current: <200mA
Working voltage (range): 4.5V~6.5V
Low voltage alarm voltage: <4.8V ± 0.1V
Fingerprint quantity: 100 PCS
Networking method: Bluetooth
Status indicator: RGB indicator light+keyboard
blue backlight light
Voice prompt: Buzzer
Anti pry function: Supports
OTA upgrade: Support
Working temperature: -20~70 ℃
Waterproof rating: Ip65
Supported mobile operating systems: ≥Android 4.3/iOS 7.0 and above
Maximum number of supporting bonding locks: 3 pieces
Packaging accessories:
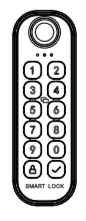
Screenshot (162)
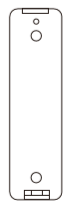
Screenshot (163)
Screenshot (164)
Screenshot (165)
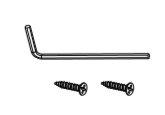
Screenshot (166)
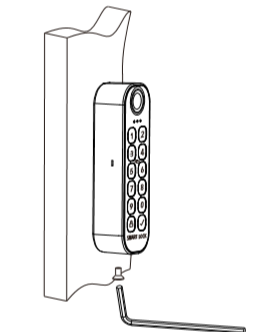
Product schematic diagram:
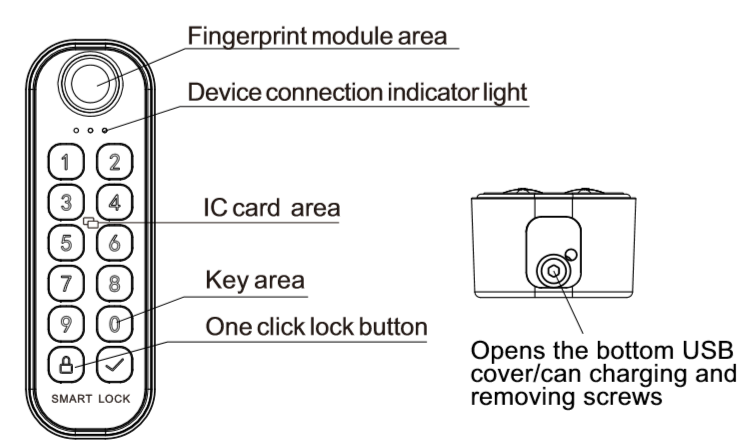
Screenshot (169)
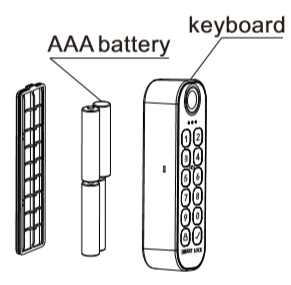
Product explosion diagram:
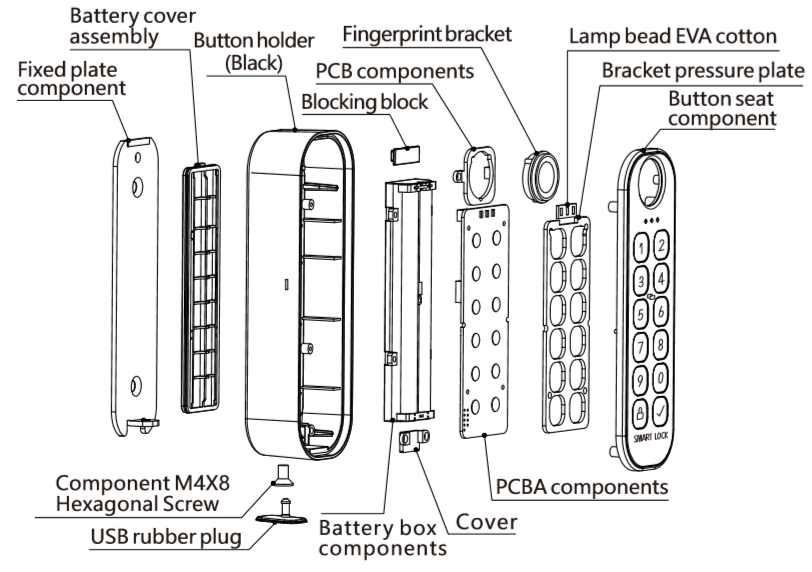
Screenshot (168)
Remove the fixed plate and battery cover:
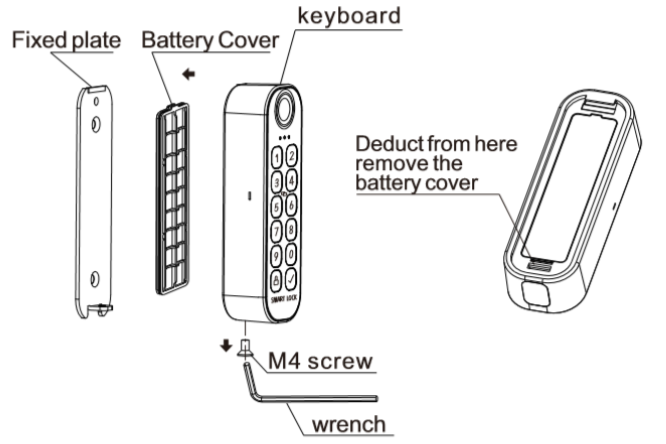
Screenshot (170)
Product installation operation:
Method 1:
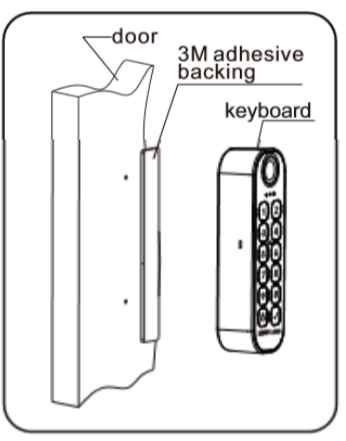
Screenshot (171)
Method 2:
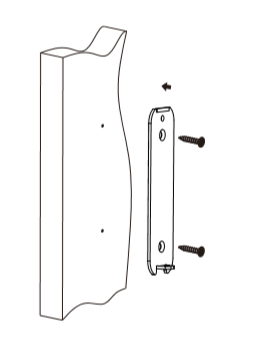
Screenshot (174)
Screenshot (172)
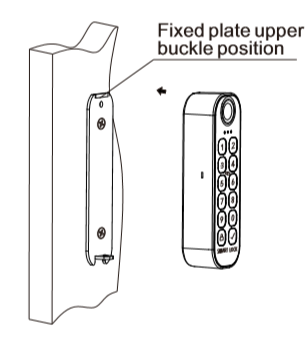
Screenshot (175)
Screenshot (173)
Add/Remove Wireless Keyboard for Locks:
1.The keyboard enters the configuration mode
①When the keypad is not added by any lock, after installing the battery, press any button to enter the configuration mode;
②When the keypad has been added by any lock and has not reached the upper limit of the lock addition (3 locks), you need to enter "* 529 # plus * * * * * * *", and "* * * *" * * * * " is the administrator password of any bound smart lock, so that the wireless keypad can enter the configuration mode.
2.Keyboard bound with smart lock
Additional images from original HubSpot article
-251f65a74c.png)
Screenshot-(162).png
-43e6522824.png)
Screenshot-(163).png
-645ec7eb25.png)
Screenshot-(164).png
-33c3312770.png)
Screenshot-(165).png
-e8d7376f8b.png)
Screenshot-(169).png
-7b07781e71.png)
Screenshot-(168).png
-5049736717.png)
Screenshot-(170).png
-36e7140d3f.png)
Screenshot-(174).png
-115448ff20.png)
Screenshot-(172).png
-e6e3b6098e.png)
Screenshot-(175).png
-289cb958ce.png)
Screenshot-(173).png