Step-by-Step Guide for Using the Simpled Door Sensor (DA-SP)
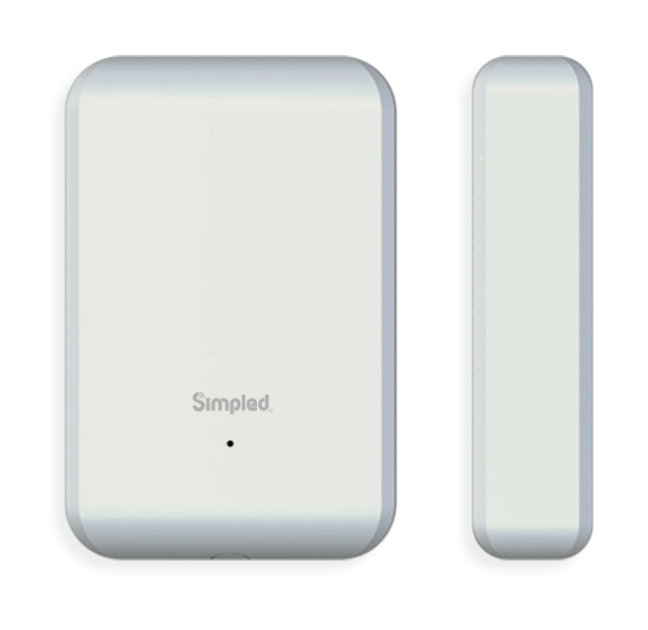
**The Simpled DA-SP Door Sensor is a compact and user-friendly device designed to enhance your home security system. Follow these instructions to install, pair, and manage your door sensor effectively. **
Original HubSpot URL: https://learn.simpled.uk/step-by-step-guide-for-using-the-simpled-door-sensor-da-sp
Installation
Screenshot 2025-01-06 at 15.28.36
2. Installation
Materials Needed:
Simpled Door Sensor
Adhesive tape (included in the package)
Smartphone with the TTLOCK app installed
Steps:
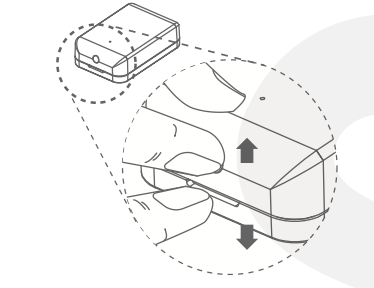
Prepare the Door Sensor:
Remove the shell of the door sensor.
Screenshot 2025-01-06 at 15.42.53
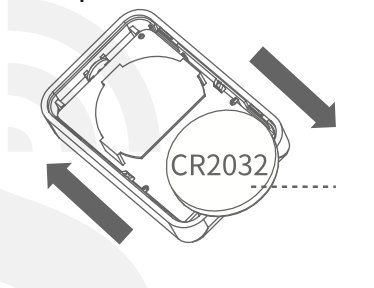
Insert the CR2032 battery if not already installed.
Screenshot 2025-01-06 at 15.43.01
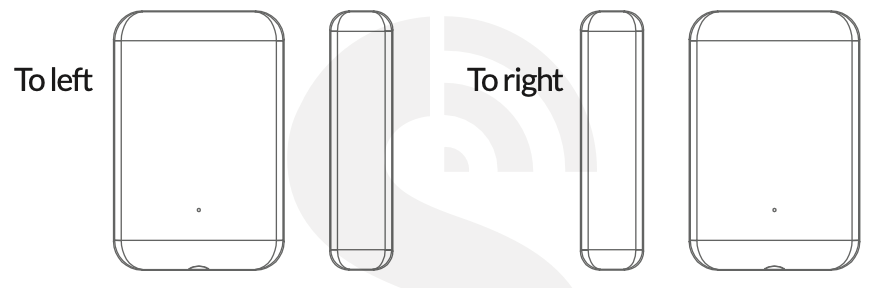
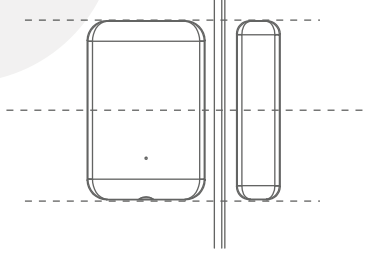
Choose the Door Opening Direction:
Decide whether your door opens to the left or right.
Screenshot 2025-01-06 at 15.42.18
Clean the Installation Surface:
Wipe the door surface and frame to ensure a strong adhesive bond.
Attach the Sensor:
Peel off the adhesive backing.
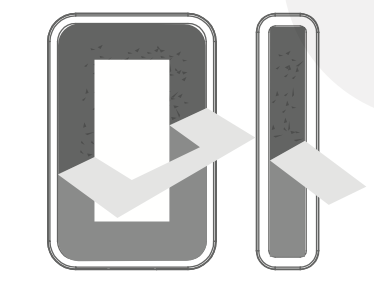
Screenshot 2025-01-06 at 15.42.42
Align the sensor parts and stick them securely on the door and the door frame. Ensure the gap between the two parts does not exceed 22mm.
Screenshot 2025-01-06 at 15.42.36
Reinstall the Shell:
Once the sensor is installed, snap the shell back into place.

Screenshot 2025-01-06 at 15.32.44
3. Pairing the Sensor with the App
Activate the Simpled App:
Open the app on your smartphone and select the lock you want to pair the sensor with.
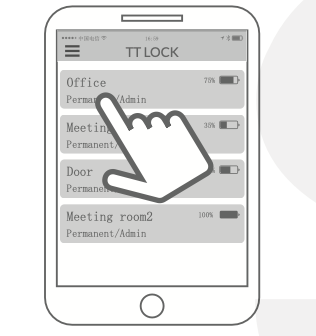
Screenshot 2025-01-06 at 15.33.28
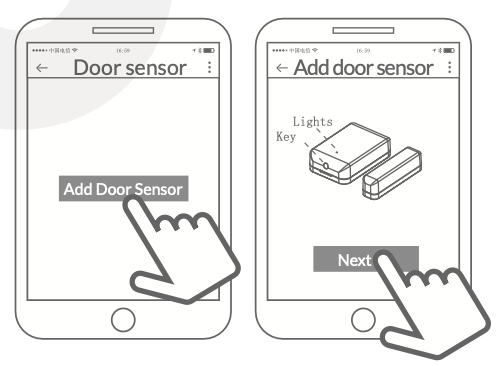
Initiate Pairing:
Tap on
Settings, thenDoor Sensor.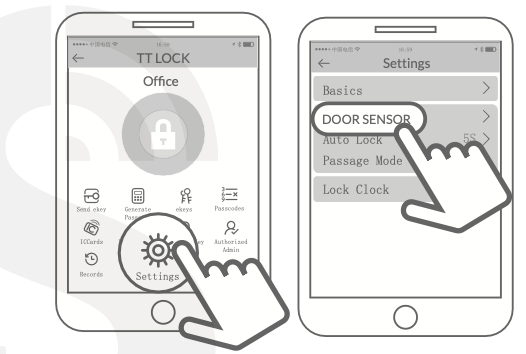
Screenshot 2025-01-06 at 15.33.38
Press the "+" button and follow the prompts.
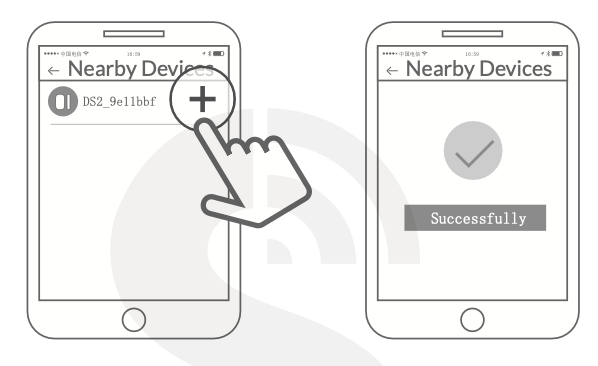
Screenshot 2025-01-06 at 15.37.12
Screenshot 2025-01-06 at 15.33.52
Reset if Necessary:
If the sensor fails to pair, press the reset button on the device for 10 seconds. The light will turn on for 1 second, indicating a successful reset.
Retry the pairing process.